Editorials
Blood on a Budget: The Ultimate DIY Gore Special Effects Tutorial for Indie Filmmakers
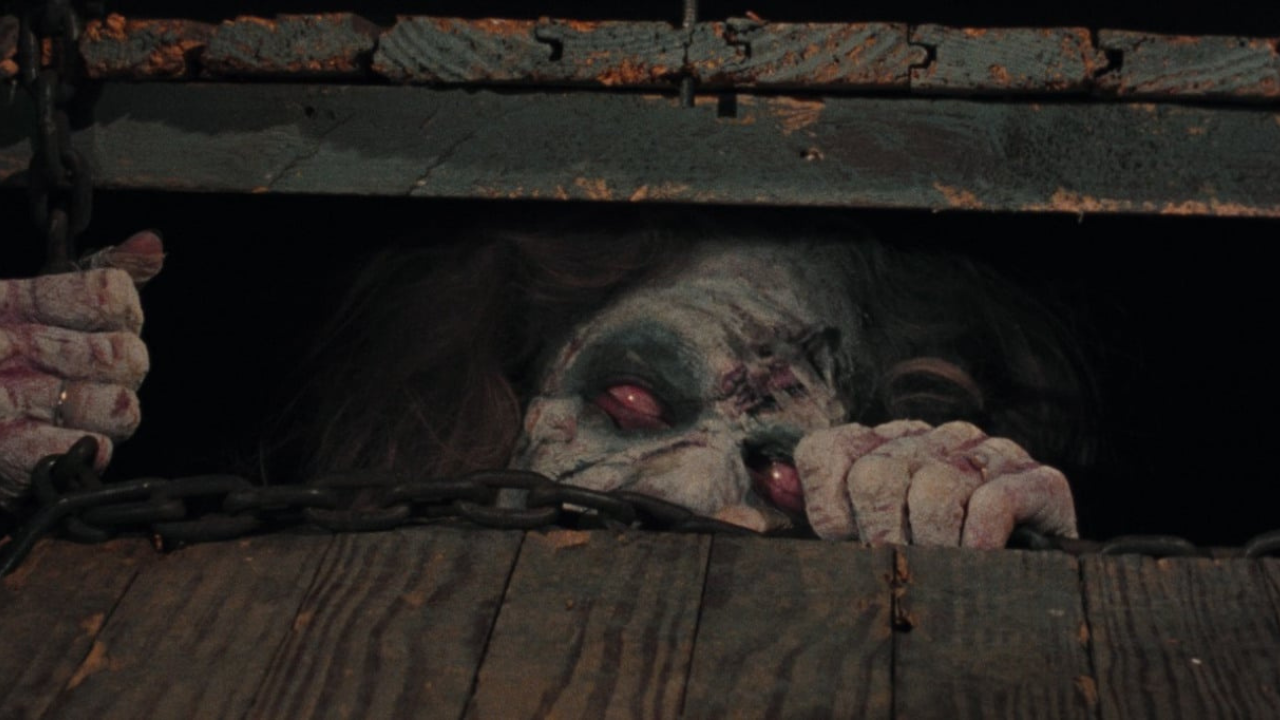
Horror filmmaking is more than jump scares and creepy atmospheres—it’s about making your audience feel every gruesome detail. And nothing does that better than practical gore effects. For indie filmmakers and horror enthusiasts, creating realistic blood, wounds, and prosthetics can seem intimidating—or expensive. But with a DIY approach, you can achieve professional-looking gore without draining your wallet.
In this ultimate guide, we’ll cover materials, detailed techniques, step-by-step tutorials, safety tips, and creative tricks to bring your horror visions to life.
Why DIY Gore Effects Matter
Practical gore effects do more than shock—they immerse viewers in your story. Modern CGI can simulate blood, but it often lacks the texture, unpredictability, and tactile realism that practical effects provide. Indie filmmakers have been pushing boundaries for decades with resourcefulness and creativity:
- Sam Raimi (Evil Dead, 1981) used ketchup, prosthetics, and camera angles to create some of the most iconic low-budget gore ever.
- Peter Jackson (Braindead / Dead Alive, 1992) combined practical blood pumps, squibs, and inventive props to create hilariously over-the-top yet effective effects.
- Quentin Tarantino (Kill Bill, 2003) blended exaggerated stylized blood with practical effects for maximum cinematic impact.
DIY gore empowers filmmakers to control the visual storytelling, experiment, and create signature effects without needing a studio budget.
Essential Materials for DIY Gore Effects
Before starting, you need to gather materials. Most can be purchased online or repurposed from household items.
1. Fake Blood Recipes
The key to realism is blood that reads well on camera under your lighting conditions. Here are several options:
Classic Blood (Realistic Viscosity)
- 1 cup corn syrup
- 2 tbsp red food coloring
- 1 tsp cocoa powder for depth
- Optional: small drop of blue for a darker, more realistic tone
Thin, Drippy Blood (For Cuts or Spray Effects)
- Mix 2 parts corn syrup with 1 part water
- Add red food coloring, tiny drop of blue
- Adjust consistency for dripping effects
Thick, Clotted Blood (For Severe Injuries)
- Corn syrup + red food coloring
- Small amount of unflavored gelatin dissolved in warm water
- Chill briefly to create coagulated texture
Tip: Test your blood on paper, cloth, and under filming lights to ensure it looks natural.
2. Prosthetics and Wound Materials
Creating believable wounds often involves layering textures and materials:
- Liquid Latex: Flexible, easy to shape for cuts, burns, or peeling skin.
- Gelatin: Melts slightly for realistic depth; ideal for blisters or gaping wounds.
- Tissue Paper + Latex: Build layered injuries; create rips, tears, and raised edges.
- Clay or Silicone Molds: Great for repetitive effects or detailed facial wounds.
- Makeup Palette: Purples, reds, yellows for bruising, swelling, or discoloration.
3. Tools and Equipment
Efficient tools make application cleaner and easier:
- Brushes and sponges: For applying blood and blending edges.
- Sculpting tools: Shape gelatin, latex, or prosthetic pieces.
- Syringes, squirt bottles, or tubing: Simulate arterial sprays or dripping blood.
- Protective gloves and aprons: Keep everything sanitary and avoid staining skin/clothes.
Step-by-Step DIY Gore Tutorial
Let’s break down the process to create a convincing gory wound for your film:
Step 1: Workspace & Safety Setup
- Cover your workspace with plastic sheets or newspapers.
- Wear gloves to protect your hands from staining or irritation.
- Keep a first aid kit nearby—safety first!
- Test any materials on a small patch of skin to check for allergies.
Step 2: Creating the Base Wound
- For a cut or gash, layer tissue with liquid latex:
- Tear tissue into small pieces.
- Brush a thin latex layer on the skin.
- Place tissue pieces on top and smooth edges with more latex.
- Repeat until desired thickness and shape are achieved.
- For burns or sores, gelatin can be molded to simulate melted flesh or lesions.
- Allow latex or gelatin to dry partially before adding blood.
Step 3: Adding Color and Depth
- Apply a base color from your makeup palette:
- Dark reds and purples for depth
- Yellows and greens for bruising
- Blend carefully to avoid harsh lines
- Add subtle veining or discoloration around edges for realism.
Step 4: Applying Blood
- Use your preferred fake blood recipe:
- Brush method: Apply small dabs for cuts or scratches.
- Squirt bottle/syringe: Simulate dripping or spurting blood.
- Sponging: Create splatter patterns or smears.
- Layer multiple shades: darker near the wound, brighter red farther out.
Step 5: Finishing Touches
- Check edges: Smooth or blend prosthetic into skin with makeup.
- Test under filming lights. Adjust color, shine, or thickness.
- Add optional effects like dirt, sweat, or sweat + blood mix for a “fresh injury” look.
Advanced DIY Techniques
- Arterial Sprays: Use small tubing connected to syringes or balloons to simulate pulsating blood.
- Body Splatter: Attach plastic sheets behind actor for controlled splatter shots.
- Peeling Skin: Use a mix of tissue, latex, and petroleum jelly for peeling or sloughing skin effects.
- Interactive Wounds: Layer gelatin over sponges to absorb and “ooze” blood during movement.
Inspiration: Horror Films That Nailed Practical Gore
Even low-budget filmmakers have created iconic gore moments:
- Evil Dead (1981) – Creative camera angles and practical effects.
- Braindead (Dead Alive) – Over-the-top, almost cartoonish, but believable.
- Kill Bill: Volume 1 – Stylized blood combined with practical squibs.
- Re-Animator (1985) – Blending theatrical gore with practical effects for comic horror impact.
Analyze these films and see how you can adapt techniques for your own projects.
Common Mistakes and How to Avoid Them
- Overuse of blood: Too much can look fake or distract. Less is often more.
- Ignoring lighting: Blood color changes under different lights; always test.
- Skipping prep: Wounds look sloppy if edges aren’t blended or shaped.
- Not practicing: DIY effects improve drastically with repetition.
Safety and Cleanup Tips
- Always use non-toxic, skin-safe materials.
- Wear gloves and aprons.
- Avoid using materials near eyes or open wounds.
- Have cleanup supplies ready (wet wipes, soap, water, paper towels).
- Dispose of leftover materials safely; some food-based ingredients can spoil quickly.
Conclusion: Empower Your Horror Creativity
DIY gore effects are accessible, versatile, and endlessly fun. With practice, patience, and creativity, you can produce horror effects rivaling much larger productions. Indie filmmakers now have the tools to bring their most shocking visions to life, all without breaking the bank.
Challenge: Create a simple gore effect this week using one of these recipes or techniques, film it, and share it on social media with #GoreCultureDIY. Connect with other horror creators, exchange tips, and keep experimenting!’
If you want more – ‘The last of us’ has one of the best makeup out there!

‘Hokum’: New Image Reveals Adam Scott in Horror Film from ‘Oddity’ Director

‘Blood’ Teaser Trailer Drops After Viral TikTok Campaign Hits 10M+ Views

Mike Flanagan’s ‘The Exorcist’ Adds John Leguizamo to the Cast

‘The Cure’ Trailer Reveals New Sci-Fi Horror Starring David Dastmalchian

Radio Silence Says ‘The Mummy 4’ Will Deliver “Heart and Character”

Uma Thurman Faces Killer Ballerinas in ‘Pretty Lethal’

Lee Cronin’s ‘The Mummy’ Trailer Drenches You in Death and Terror

Urban Exploration Turns Deadly in ‘Do Not Enter’ This March

‘Bodycam’ Trailer: Shudder’s Found Footage Horror Feels Like a Full-Length ‘V/H/S’ Nightmare

Don’t Blink: ‘Exit 8’ Trailer Delivers Neon’s Surreal Horror Nightmare
‘Blood’ Teaser Trailer Drops After Viral TikTok Campaign Hits 10M+ Views
‘The Cure’ Trailer Reveals New Sci-Fi Horror Starring David Dastmalchian

‘In a Violent Nature 2’ Trailer: Johnny Targets a Summer Camp in Brutal Slasher Sequel

‘Backrooms’ Movie Teaser from A24 Promises Liminal Horror in May 2026